One of the most important aspects of any Web Store is displaying the best of your products. This not only means providing an accurate title and description of your product, but also getting your product photos right.
When we are designing the UI for an ecommerce website, we like to draw a path around the products, removing the background, so they sit nicely on clean white. This ensures the products are displayed cleanly, without any interfering colours or designs. Recently a couple of our clients asked us about the best way to edit their photos, so we thought this would be a good opportunity to write a post describing our process.
We understand that the majority of our clients don’t have that much image editing experience, or the same software that we use for that matter (Photoshop), so we recommend that you download the free image editor GIMP (short for Graphical Image Manipulation Program).
Now, we use Macs for all our design work and will be describing the process using the Mac version of GIMP. The PC version is pretty much the same, so the instructions should follow smoothly.
Lets Begin!
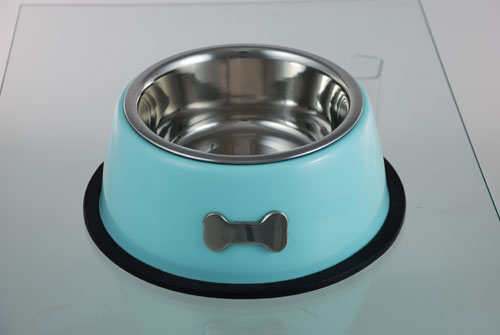
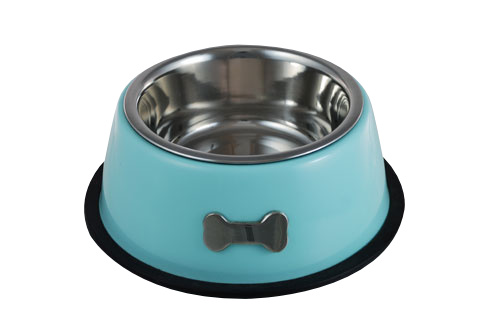
For this tutorial, we’ll be using this simple pet bowl photo to describe our process.
Initial Preparation
Your photo will probably be quite large, so first things first, let’s resize it to a more manageable size:
Image > Scale Image
In the dialog box enter a width of 1000px (or height if it’s a portrait photo). You don’t need to change it’s opposite dimension as this will be done automatically. Click the ‘Scale’ button to confirm the changes.

Let’s Get Drawing
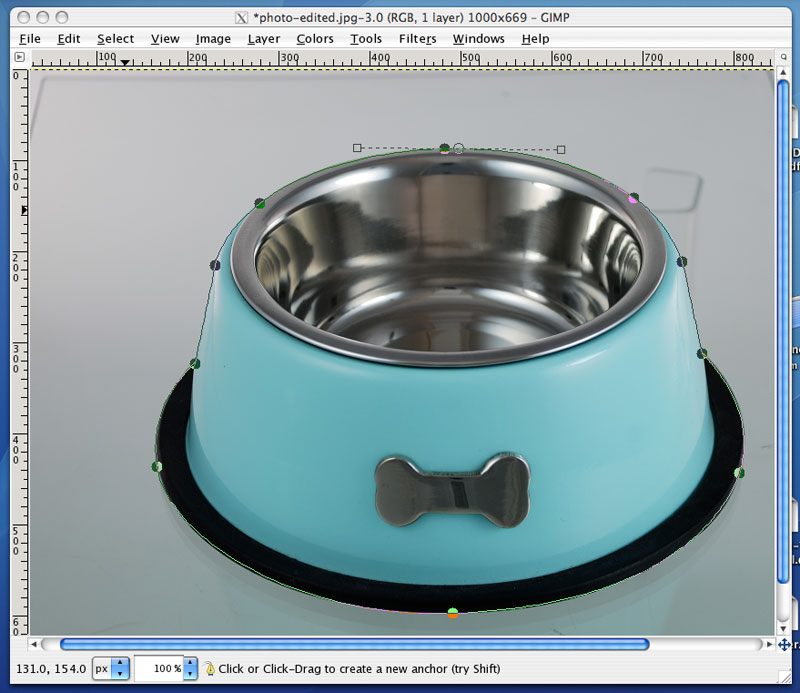
You should now have a nicely sized photograph. Zoom in at 100% so you can see the full size – this makes it easier to draw a path around the product. Using the ‘Pen’ tool from the toolbox start creating points around the product, dragging each points handles to fit the path around any curves as you go.

Feel free to use as many points as necessary. We have years of practice doing this, so we tend to draw paths with very little points!
Closing The Path
When you get to the end of your path add a final point near to your start position. In the toolbox click the ‘Edit’ option (or hold the Ctrl key).

Now we need to close the path, so click on the final point in the path which will be the one next to the point currently selected. The cursor will change to show two links.
You should now have a complete path around your product.
Add The White Fill
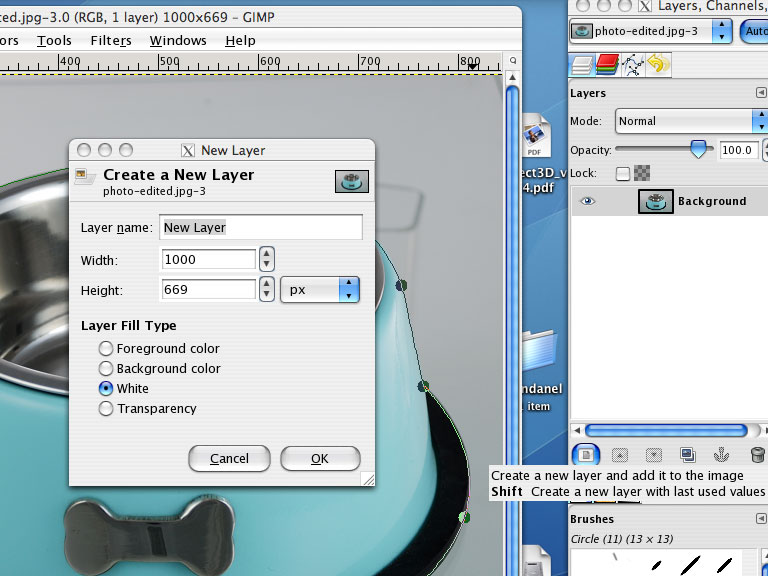
For your product to site on a white background, you first need to add a white layer. From the ‘Layers’ panel, create a new layer. Select ‘White’ as the Layer Fill Type and click ‘OK’. You don’t need to change anything else.
Your new layer will appear in the Layers panel, drag it below your photograph and then select the photograph layer again.
Walking Ants
Next, in the toolbox (you should still have the pen tool selected) click the ‘Selection from path’ button. You will see the path turn into a moving dotted line.

Let The Magic Begin
Nearly there. We are now going to hide the unwanted background so the white is revealed in it’s place. From the ‘Layer’ menu, select Mask > Add Layer Mask.
Click ‘Selection’, and then ‘Add’.
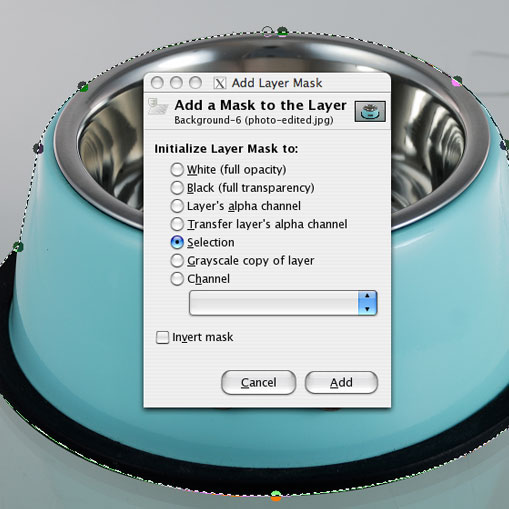
Voila! The background should have now disappeared showing white in its place.
Wrap It Up
Now the final step. From the ‘Image’ menu, click ‘Flatten Image’.
This will combine both the photo layer and white background layer into one. You can now take the opportunity to remove the excess white space surrounding your product:
Image > Crop to selection
And there we have it…the perfect photo ready to be uploaded to your store!
Save your finished photo as a jpg at 100% quality.